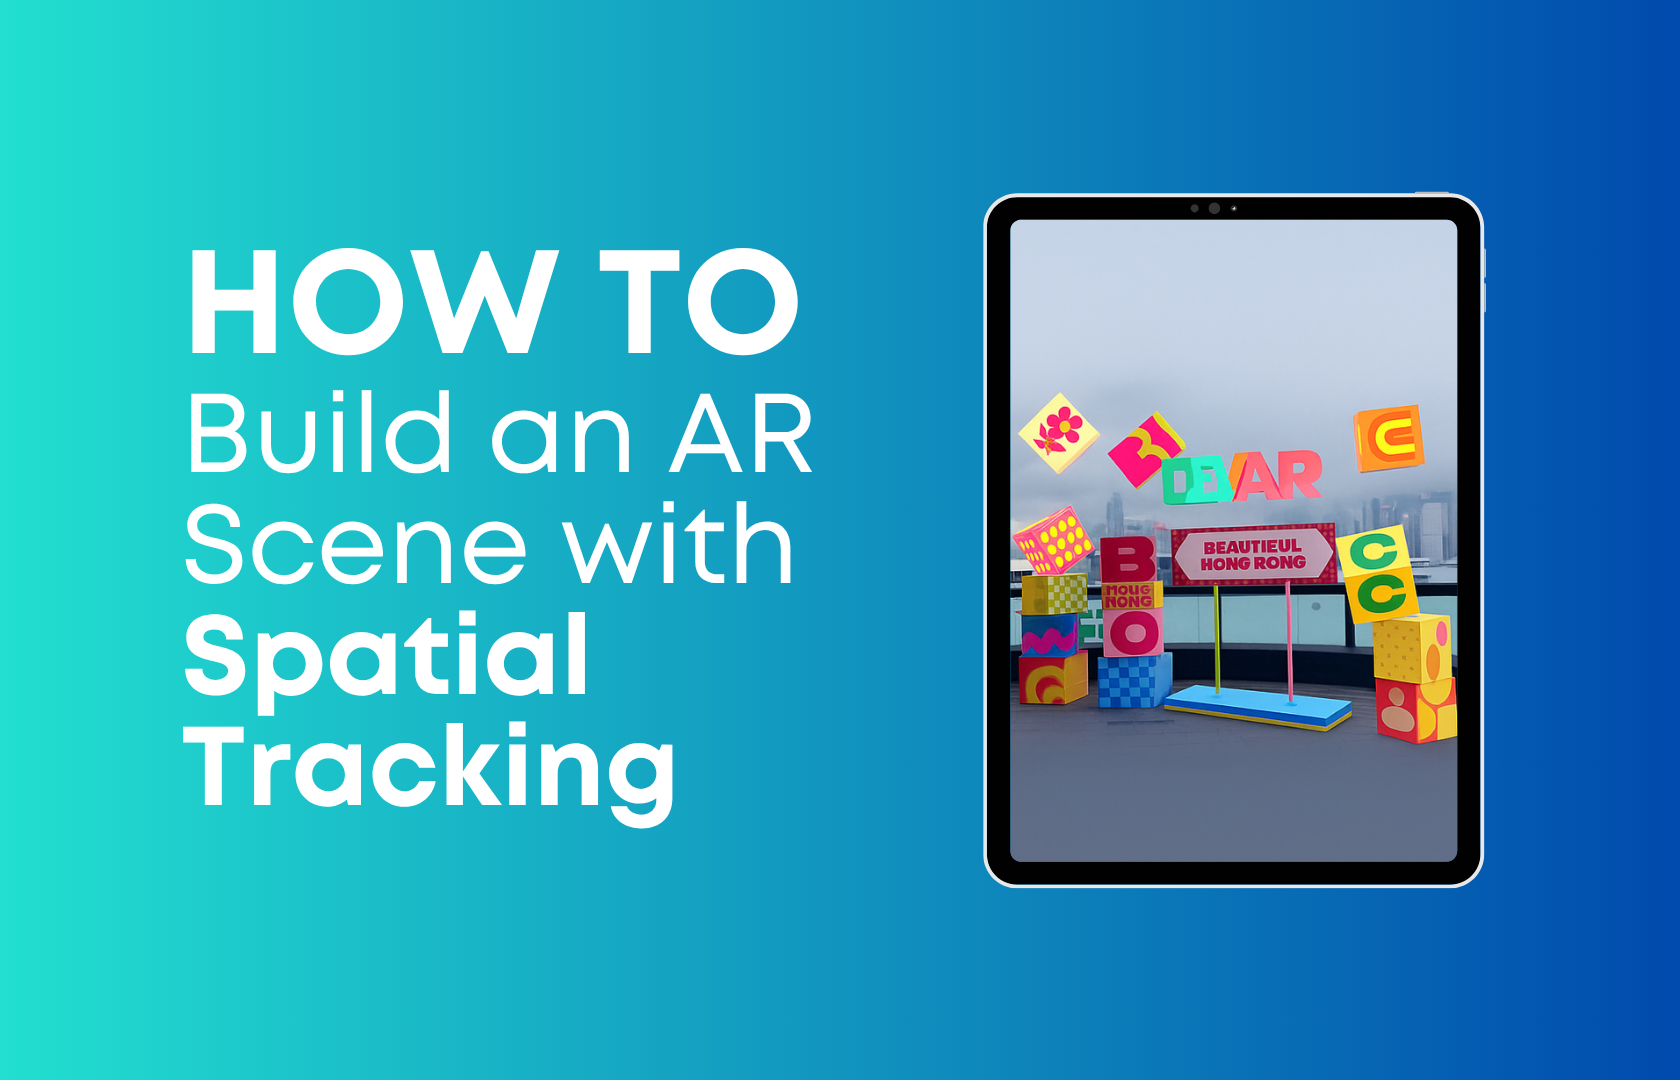
We are entering a new era of web-based augmented reality — where AR is no longer limited to printed pictures or QR codes, but instead flows freely through the spaces around us. This is where Spatial Tracking comes in.
With Spatial Tracking, your digital content no longer clings to a flat surface or a static marker. Instead, it wraps itself naturally around real-world objects — whether that’s a sculpture in a museum, a storefront facade, a giant machine, or a historic landmark. The technology recognises the three-dimensional shapes and features of the object, transforming it into an interactive AR anchor point.
This is more than just a technical upgrade. It’s a shift in mindset: AR is no longer something “added on top” — it’s something that integrates into the spaces we inhabit. AR becomes part of our cities, our businesses, our daily lives.
With that vision in mind, let’s walk through how to build your own Spatial Tracking project on MyWebAR, using a simple, no-code process.
Step 1 — Create your project
In the MyWebAR editor, click Create Project and select Spatial Tracking.
The system will generate a unique Scan Link (URL + QR code) — this is what you’ll use to scan and register your chosen object.
Step 2 — Open the scan link
On your smartphone, tap the URL or scan the QR.
A WebAR page will open directly in your browser — no app download required.
Step 3 — Start capturing
Follow the on-screen prompt:
“Point your camera over the object or area you’d like to augment and slowly move your phone from side to side to initialize capture.”
A red Record button will appear — tap it to begin.
Walk slowly along or around the object until the progress bar beneath the button turns orange, or ideally green.
Keep in mind:
- Move smoothly, avoiding sudden jerks.
- Keep your speed steady.
- Make sure each new camera angle overlaps the previous one.
- Pass over the same areas from different angles for a richer scan.
- Work in a well-lit space for the best results.
Step 4 — Finish & Upload
Once the capture is complete, tap Finish Scan.
The system will automatically upload the data.
Step 5 — Refresh the editor
Back on desktop, reload your project.
You’ll now see a proxy model of your scanned object — this is your anchor for adding AR content.
Step 6 — Add your content
Drag and drop your creative assets into the scene:
- 3D models
- Images and GIFs
- Videos
- Audio clips
- Interactive buttons
You can position, scale, rotate, and assign actions to each element.
Step 7 — Preview & Publish
Click Preview to test how your AR scene works live.
When you’re ready, hit Publish — and your original QR/URL will deliver the full AR experience to anyone who scans it.
Why this matters
Spatial Tracking is not just another feature; it’s a major leap forward for web AR. It means that digital layers can now wrap around physical objects in ways we once only imagined — anchored not to flat paper, but to real, textured, three-dimensional space.
With tools like MyWebAR, you don’t need coding skills, big budgets, or specialist hardware to tap into this power. Any brand, artist, museum, educator, or creator can now bring their physical world to life with digital experiences.
The future of AR isn’t just on screens. It’s all around us — and it’s ready for you to build.
